Analytical Services
3D X-ray
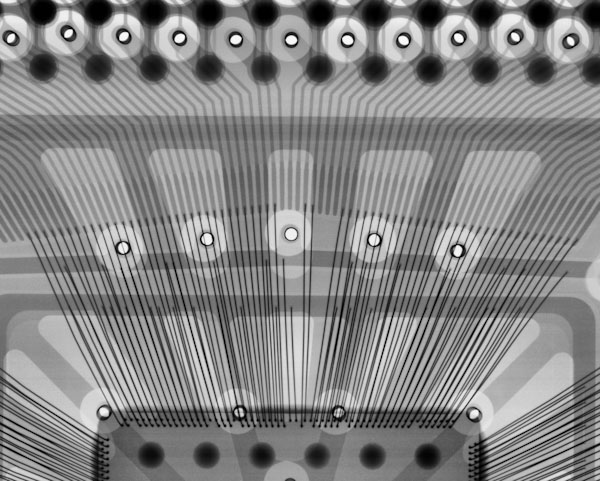
Six Sigma’s high-resolution x-ray microscope with CT scan capabilities can distinguish features down to 100 nm. This equipment can be used to check for defects and anomalies in integrated circuits used in the microelectronics, automotive, biomedical, and space industries.
Six Sigma’s X-ray Inspection system includes µCT capabilities and a heated stage. This system offers cutting-edge performance, allowing inspection of features down to 100 nm. It also includes anti-vibration features to ensure image stabilization (good for very sensitive devices/samples) and has a large inspection area that can accommodate most sample sizes. The system also has filters to reduce X-ray dose – critical for samples where radiation exposure must be minimized. High-resolution 3D models are generated using the µCT feature and sample stage, while the heated stage allows the simulation of reflow conditions while viewing the samples in real time.

Acoustic Microscopy
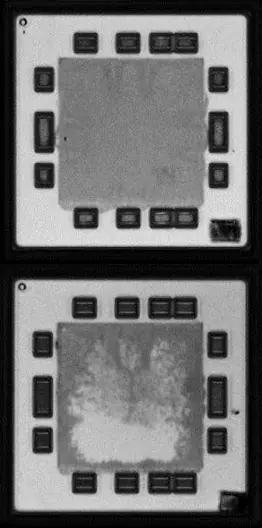
Acoustic microscopy testing is to determine the degree of delamination or voiding in non-hermetic components. This test method is used to evaluate the bonding between materials through the use of high-frequency ultrasound. The internal features of a material can be imaged since ultrasound is sensitive to air gaps inside a material (such as delamination and voids).
Acoustic microscopy is used to detect delamination in non-hermetic components. It is a method of determining hidden internal defects such as voids, separations, cracks, or disbonds that are invisible to the naked eye. It is a non-destructive internal inspection that makes use of high-frequency ultrasound.
An object that has good material continuity and good bonding between its layers has very little sound wave obstruction. If an object has defects such as voids, cracks, porous areas, disbonds, or separations, then the sound wave is obstructed. This obstruction then appears as a contrast in the acoustic image.
Severe separations can lead to broken wire bonds. Minor separations can trap contaminants, which can cause corrosion, electromigration, conductive-anodic filaments, or other latent defects.
Applicable Industry Specifications & Standards
- IPC/JEDEC J-STD-020: Moisture/Reflow Sensitivity Classification for Nonhermetic Surface Mount Devices
- IPC/JEDEC J-STD-035: Acoustic Microscopy for Nonhermetic Encapsulated Electronic Devices
- MIL-STD-883 Method 2030: Ultrasonic Inspection of Die Attach
Metallographic Cross-sectioning
Six Sigma performs metallographic cross-sectioning to prepare samples prior to high resolution microscopy or SEM-EDS analysis.
Metallographic cross-sectioning is the process of exposing the internal plane of interest of a sample for detailed examination. The process consists of mounting, sawing, grinding, polishing, and/or etching the sample so it can be analyzed using an optical microscope or a SEM (Scanning Electron Microscope) to take a closer look at the microstructure.


